Getting Started with Widgetbook 3
Jul 19
10
min read
A community contribution from Cavin Macwan 🎉
Disclaimer: This article is about Widgetbook 2.0 Parts of the content may be out of date.
Hi all
In the last part of the WidgetBook series, We covered various topics on WidgetBook such as the need for WidgetBook and the various functionalities which WidgetBook provides in Flutter. I also explained all the examples and use cases along with the code and the output.
Therefore, if you want to learn about the core concepts and functionalities of WidgetBook, then I recommend checking the first part:
https://medium.com/@CavinMac/widgetbook-in-flutter-crash-course-in-manual-approach-782d9b69e296
In this part, we will cover how you can leverage code generation to generate all the boilerplate code for WidgetBook. So without further a do, let’s get started!
In the last part, I used the manual approach to create all the use cases, categories and every other thing. But WidgetBook provides the code-generation packages that you can utilize to focus on the main app logic, rather than focusing on creating the WidgetBook tree.
These are some of the advantages of going with the generator approach:
Now let’s see how you can setup the WidgetBook to leverage code generation 😉
To setup WidgetBook with code generation, follow the steps below:
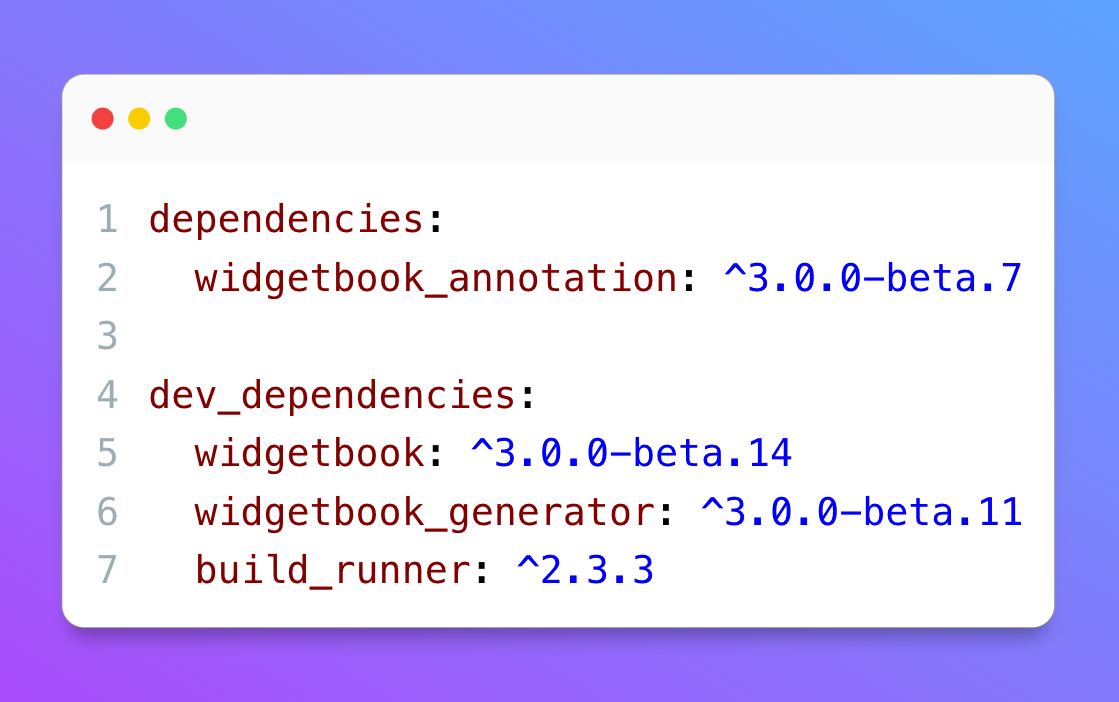
Now that you’ve added the dependencies, let’s go to the next step.
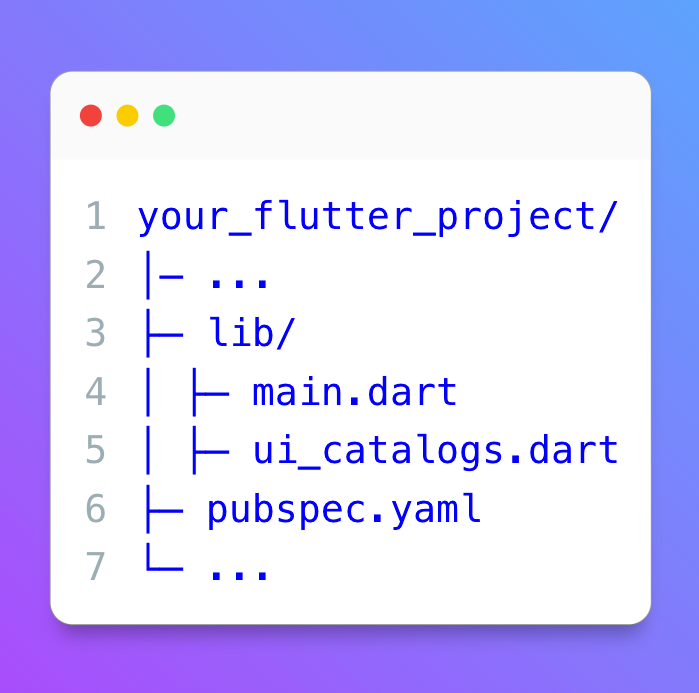
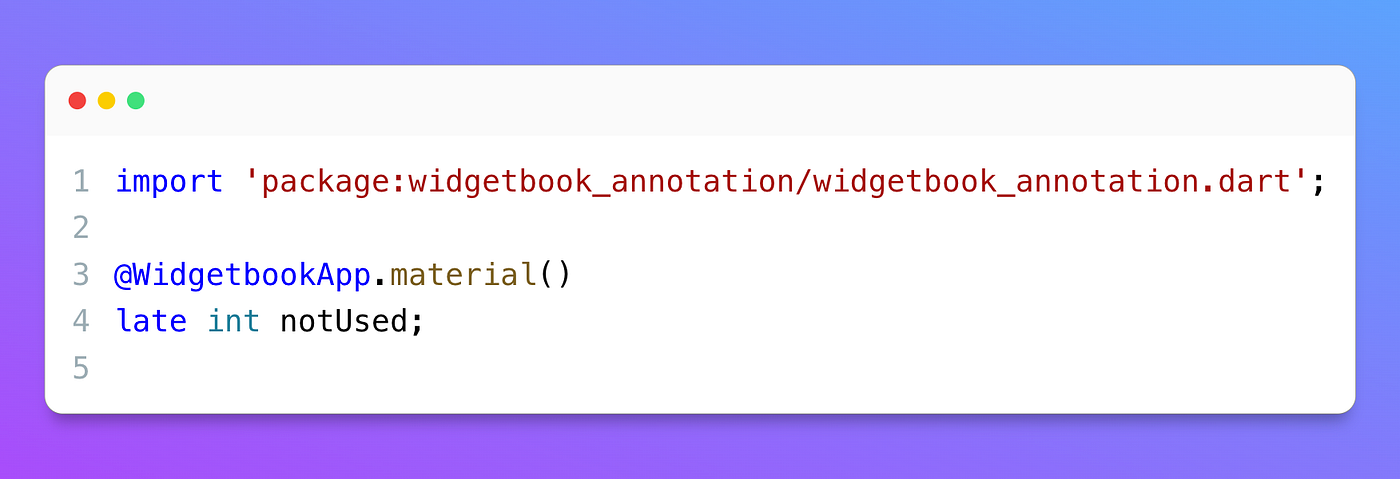
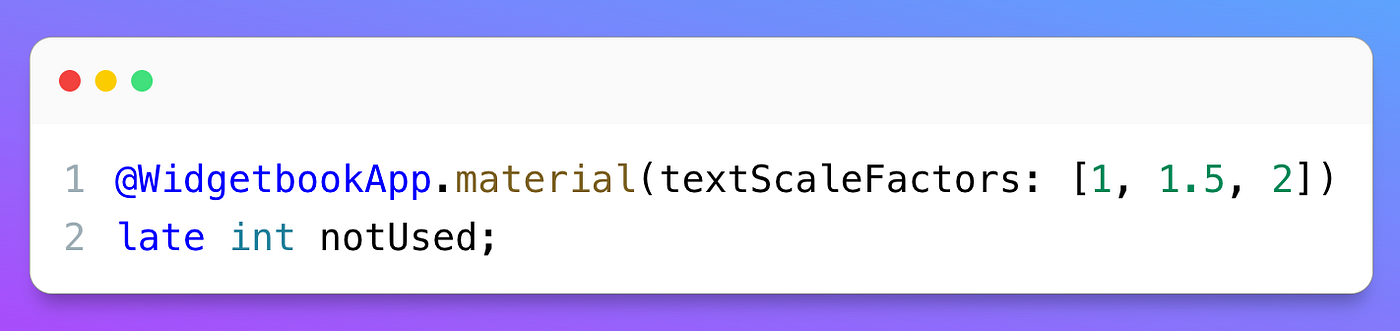
As you can see, we’ve just added one annotation (i.e @WidgetbookApp.material()) and below that, we’ve added one late variable.
That’s all the necessary code you need to write to generate your code!😲
Now run this magical command in your terminal to generate all the boilerplate code 🧬
After you run this command, it will take some time to generate the file. The file will be named as ui_catalogs.widgetbook.dart .
Now Let’s look into the code it generates:

In the manual approach, you would have to write all the code which is generated automatically. That’s why WidgetBook’s code generation is so efficient 💙
After you run the app, it will look something like this:
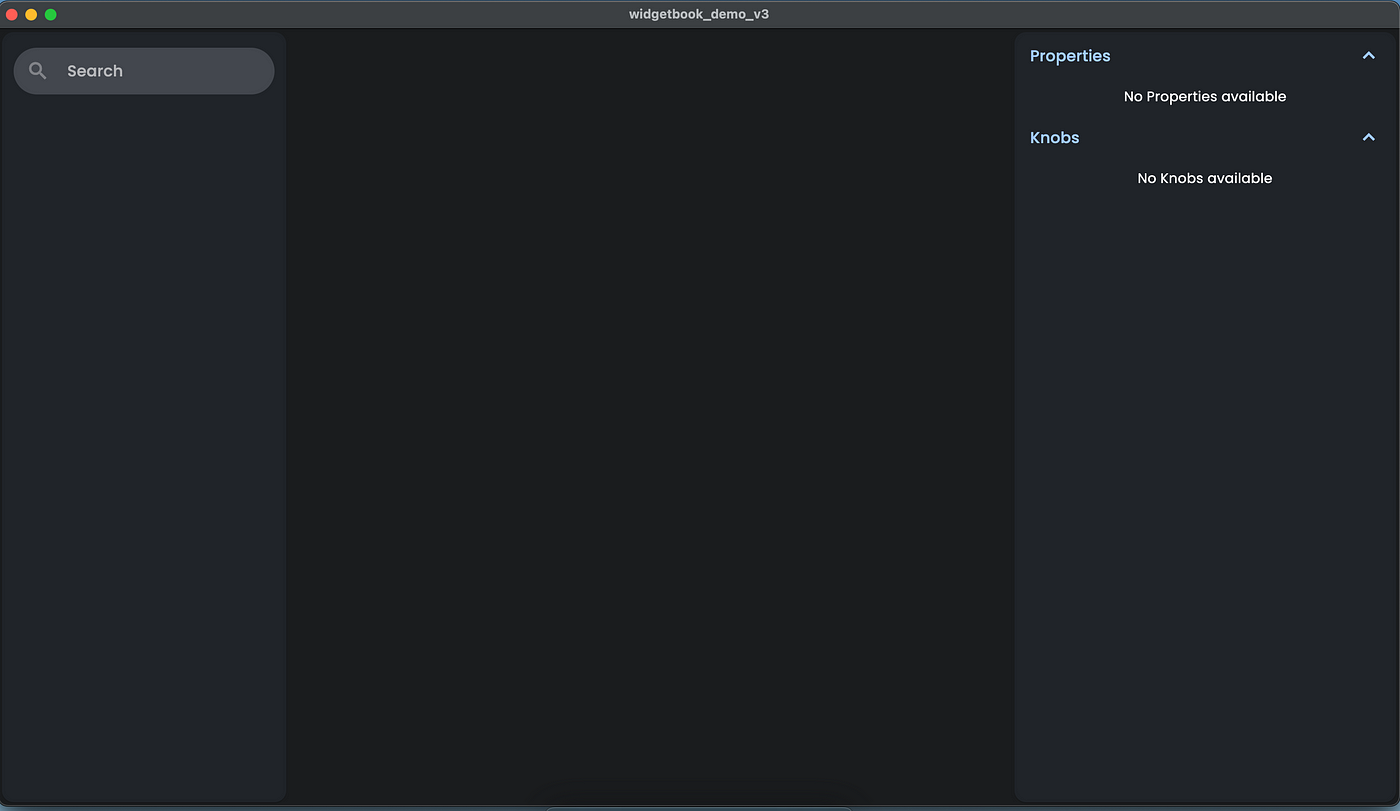
Notice that everything is pretty much empty here! Because we’ve not added the Use cases yet. Now let’s see how can we add use cases and manage the folder structure of the WidetBook.
WidgetBook provides the annotation for generating the UseCases, so that you can directly annotate a widget with the @WidgetbookUseCase , and once you run the build runner command, it will automatically generate the UseCases code for you.
Let’s understand this by an example:
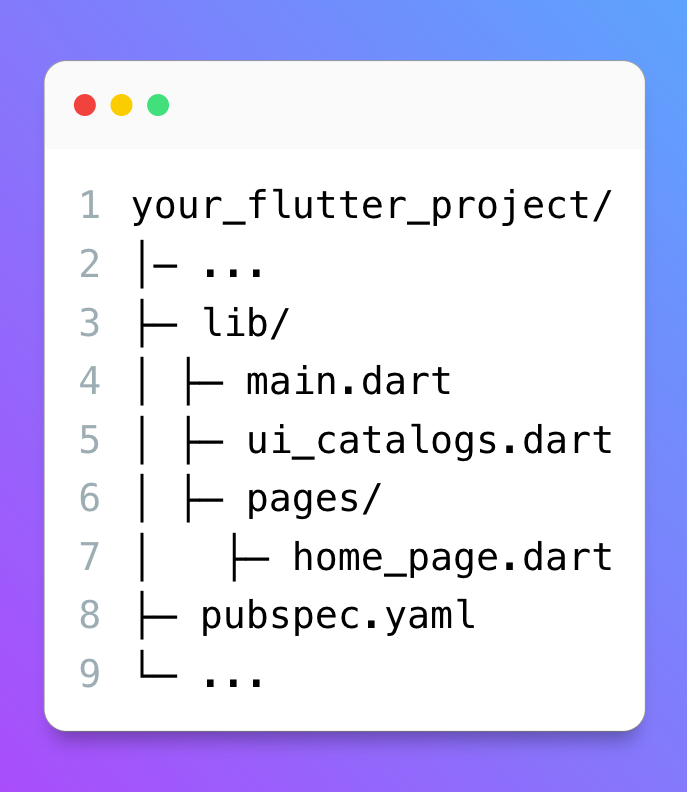
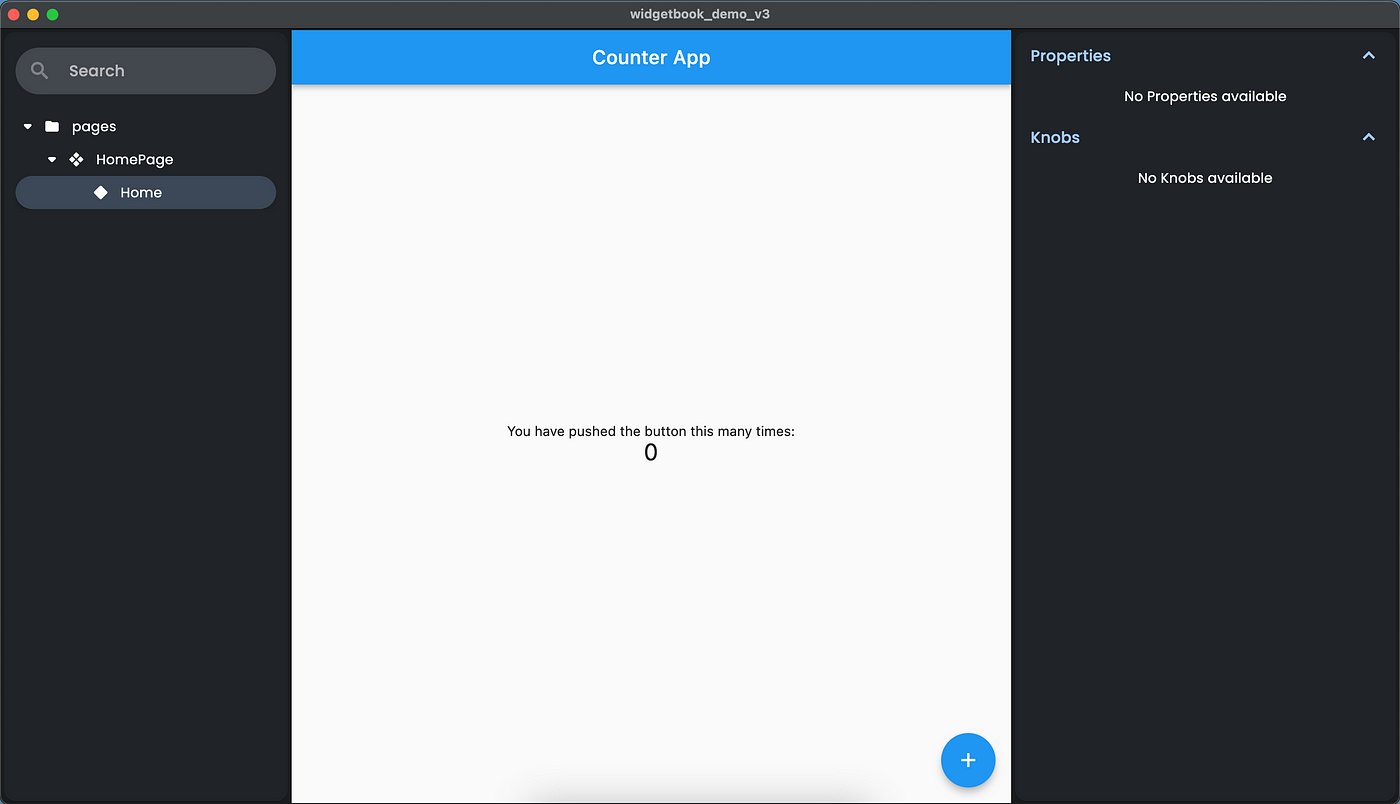
Therefore, the navigation structure of the Widgetbook resembles the structure of your application or package.
If you want to know what Add-ons are and why it is used, you can check out my previous blog through this link.
In this blog, you’ll see how you can set up these Add-ons with the generator approach.
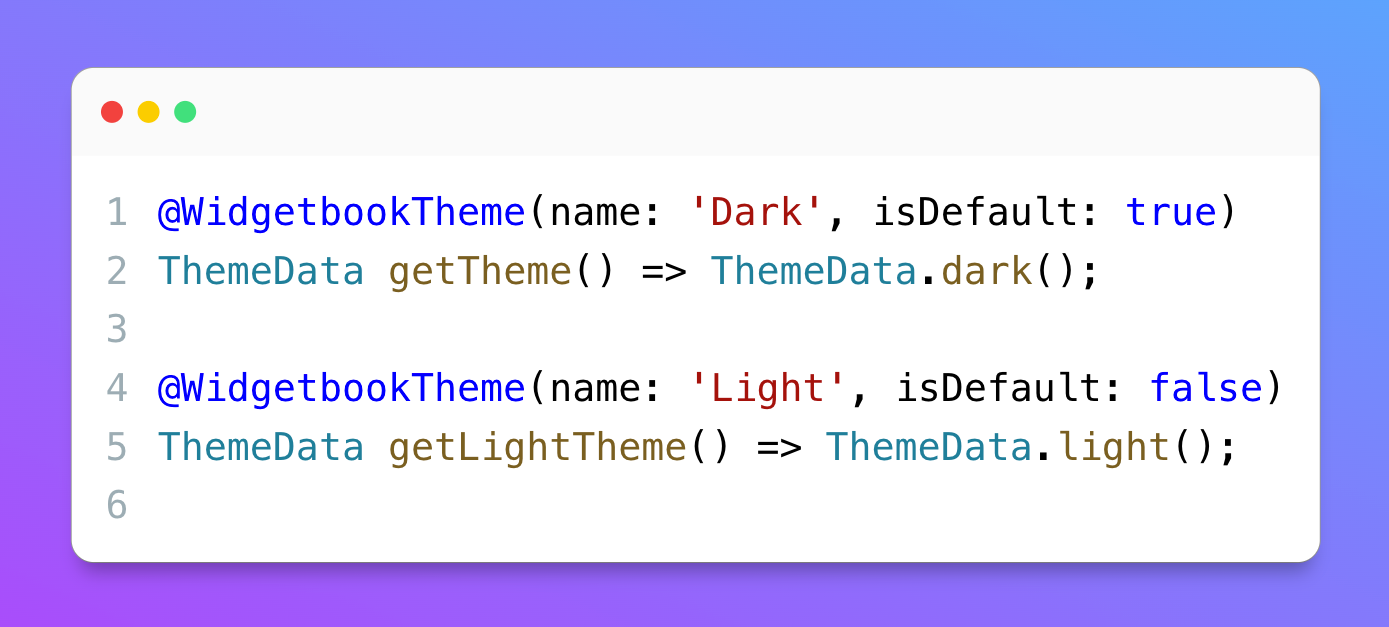
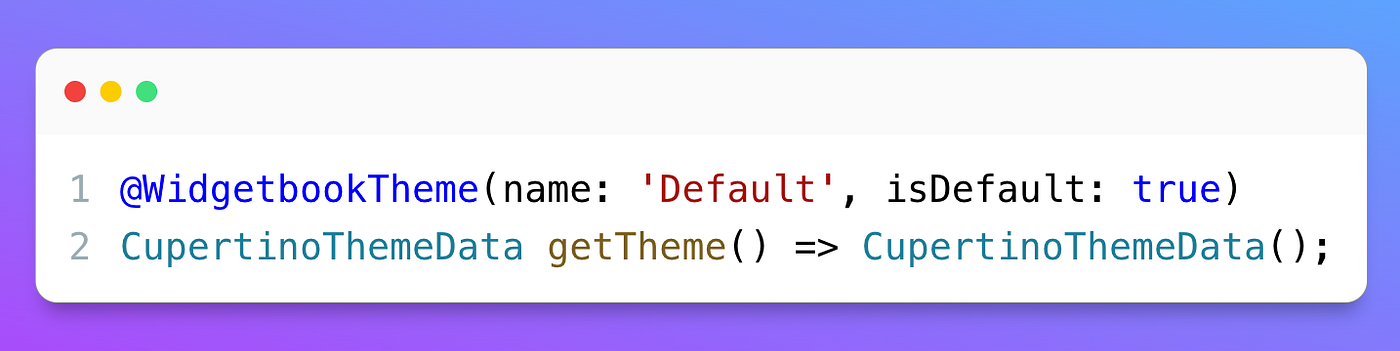
The Theme Add-on provides theming for previewing and changing your themes in WidgetBook. Thus, you can check and verify your themes in real time.

As the name suggests, this Add-on allows you to change the text scale for previewing your use cases. By adding this, you can check if your layout is going to break or not when the scale of the text changes.
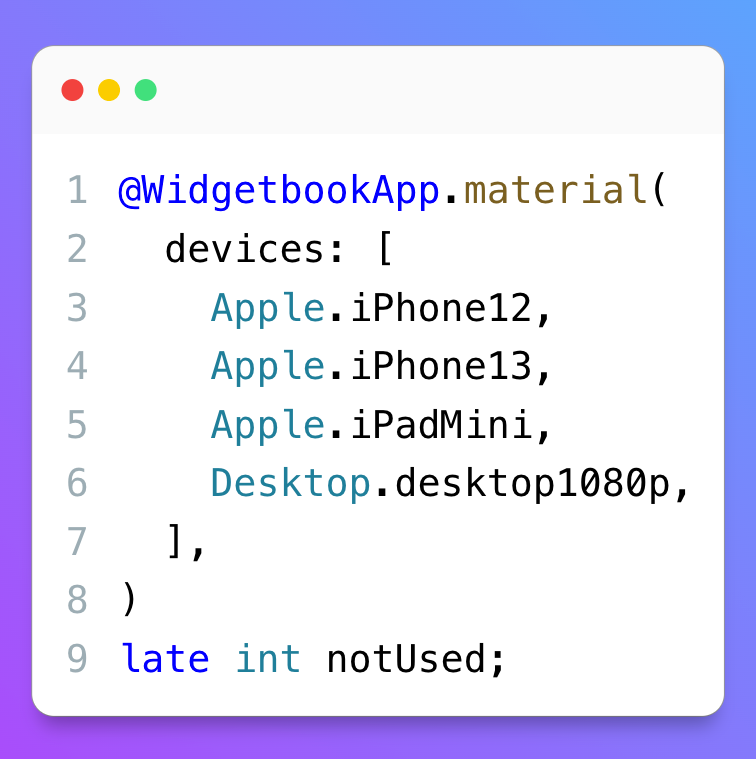
As you can see in this GIF, this add-on provides you the ability to view and test all of your use cases on different scree-sizes along with the frames of those devices.
WidgetBook gives you a bunch of Android, iOS and Desktop devices that you can use directly. You can also create your own custom device if you want.
You can use this add-on like this:
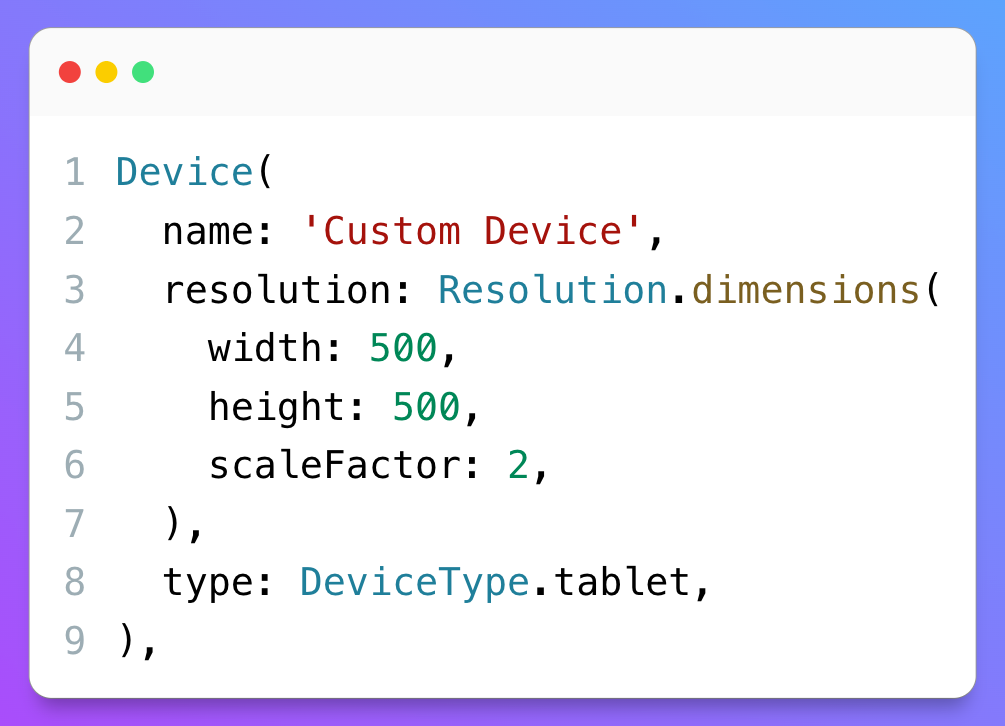
You can also define your own devices by extending the Device like this:
If you want to try these examples on your own then you can check out my GitHub repository:
https://github.com/Cavin6080/Widgetbook-demo.git
I hope you learned something new from this blog. If you didn’t understand any of this part or have any doubts, then you can ask me in the comments, or on my LinkedIn and Twitter.